Smart Ideas for Decorating With Maps

Decorating with maps is a creative way to decorate walls without spending too much money. I listened to my own advice and added style to a big wall without a big price tag.
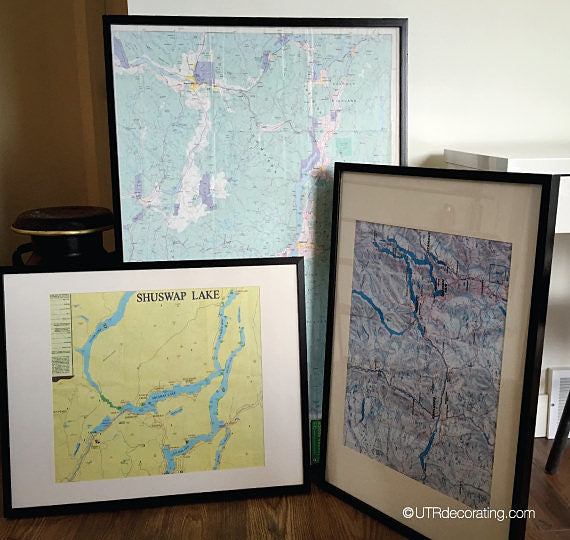
I picked up these maps at my local tourism office and inserted them into black IKEA frames. In addition to looking great, they’re extremely handy when showing our guests the lakes and tourist attractions around the cottage. *Written by Liette, Co-Founder of UTR.
This is also a great budget friendly décor idea for college students wishing to add style to their dorm room or first apartment. It’s a great option for travellers who want to frame maps of places they’ve visited.
Before getting started, make sure your furniture is exactly where you want, otherwise you might have to shift the furniture or re-hang a few pieces if they’re off-centered.
When inserting your maps into your frames, if they’re a bit too large, simply fold the edges back. Once you’ve got them framed, here’s how to hang them:
1. Determine how far from the floor to hang the first map. To find the right height, move your piece up and down until you find the right location. In my case, I wanted the bottom of the frames hanging higher than the tabletop and close to the back of the chairs. Having someone give you a hand for this step is really helpful. If the room is used mostly for sitting, avoid hanging the maps too high so they’re not difficult to read from a sitting position.
2. Using Hang & Level, hang the largest map first. Since each frame was fitted with a sawtooth hook, I used Déco Nails to hang the maps. They’re the perfect fit for the hardware and keep art safe on the walls.
Tip: Have all the tools you need handy, it’ll save you time and frustrations. I keep mine on a tray to keep them all together.
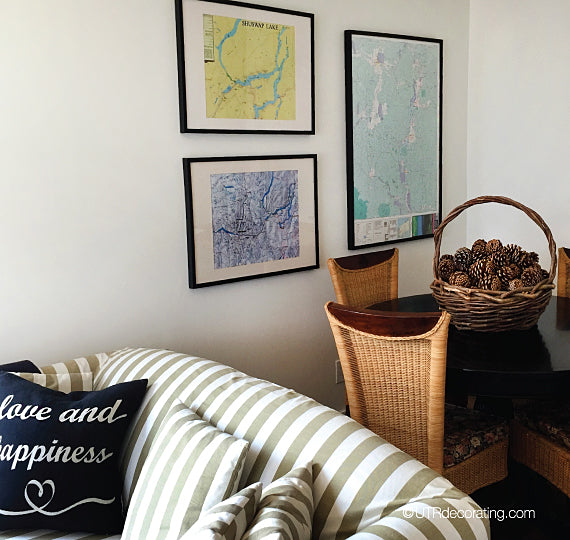
3. Decide how to position the other maps. I decided to hang the second map slightly higher than the one already on the wall.
4. Determine how much space to leave between the two frames on the left. I wanted the bottom map to clear the top of the chairs and slightly lower than the larger map – that’s what dictated the spacing for my display.
Tip: Stick a piece of painter’s tape at the top right corner where the third frame will be positioned on the wall. To prevent the handle of Hang & Level from getting in the way, remove the top frame from the wall, hang the third frame making sure its right corner lines with the painter’s tape.
5. Hang the bottom frame and level it. Then rehang the one at the top and you’re done!
Note: It’s OK for the spacing between frames to be different. I wanted a larger gap between the large map and the smaller ones to fill more wall space which helped centre my display.
The black frames make the maps pop against the white background and gives them a greater presence on the wall. Having them so handy inspires us to discover all the beautiful areas surrounding us. Framing the maps was definitely a clever idea and is the perfect fit for this casual corner of the basement where board games are often played.
What’s on your walls? Let me know, share your comments in the box below.

Liette Tousignant
Co-Founder of Under The Roof Decorating
SHARE:


