Create a gallery wall with your favourite vacation photos

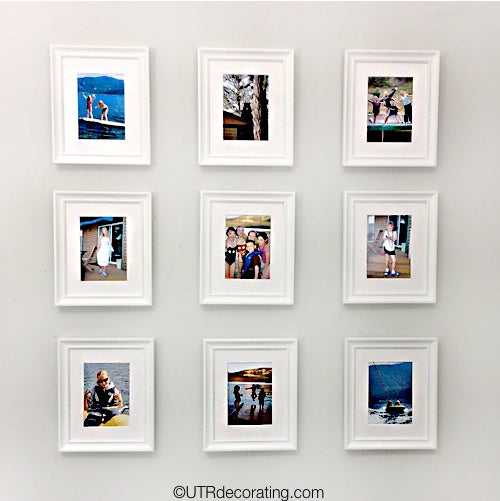
You get back from holidays with hundreds of great vacation snapshots, but what happens to those precious images once you’re home? If you’re like most people, you get busy with unpacking and laundry and completely forget about them, so they sit in your camera or smartphone for months. Well, I didn’t want to do that. I had a hallway wall that was begging for pictures, so I created a gallery wall with my favourite vacation photos from one of our holidays. Within hours I had completely transformed a boring wall into a very lively space, bringing back so many happy memories.
Don’t be scared about hanging nine frames like I did — it’s easier than you think and I’ll walk you through every step of the way.
I started with this blank wall:
- First, figure out how much wall space you want to cover, which helps determine the size of frames needed and size of pictures needed for each frame.
About the frames:
- The vacation shots I wanted to frame were all in color, so I opted for white frames and mats.
- White is crisp, cool, and neutral, so I knew that my display would fit any décor if I were to move or change my wall color.
- I used all the same frames throughout, and hung them all in the same direction. I wanted symmetry and consistency in the display to allow the focus to be on the pictures.
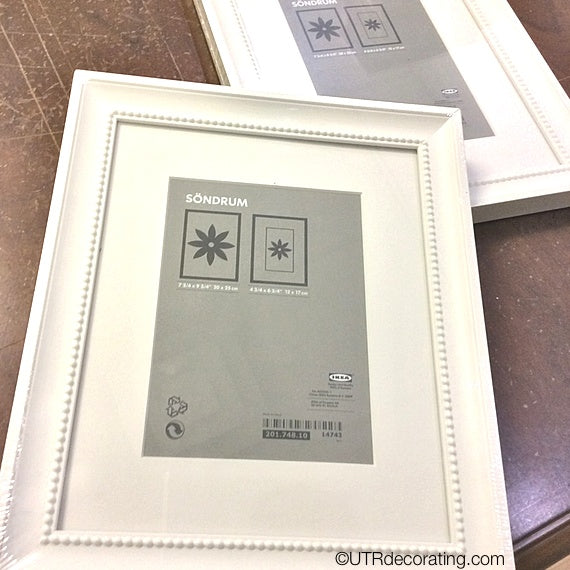
- I went to IKEA and looked for frames that already had mats to fit 5X7 pictures, which was my top priority.
- I ended up choosing Sondrum frames. They are tabletop frames, but we removed the easel from the backing and hung them on the wall. I really liked the delicate detail in the frame, which I couldn’t find anywhere else. They were very affordable too at $7 each.
Inserting your photos:
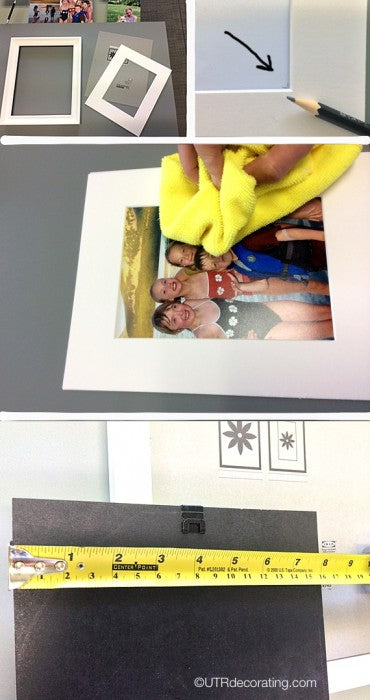
- I took all the backings off, set the frames on the table and started gluing in my pictures. Use the white loose grey piece of paper the frames come with and glue your pictures on the white side.
- To make sure each picture was glued on straight, I marked the two bottom corners with a pencil and lined up my pictures with the marks.
- Lightly spray glue on the back of your pictures and use a clean cloth to carefully press them on the white paper.
- Insert the glass, pop the images in the frames, and make sure the hanging hardware on the backing is in the center before closing the metal tabs to secure. Repeat with all your frames.
All nine frames:
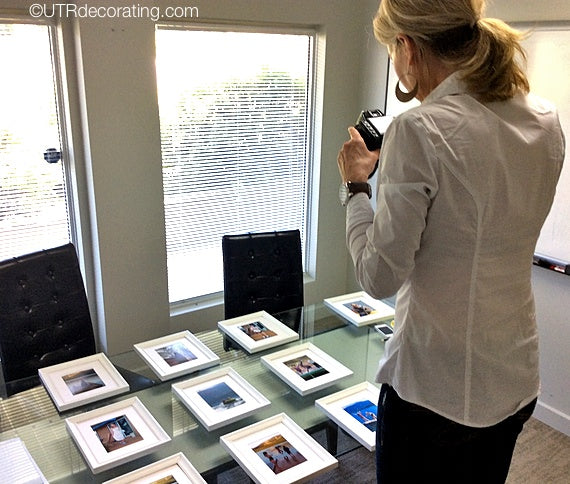
- I did the nine frames and carefully laid them out on a table.
- I hopped on a chair to take a picture and so I could see the display from above. It helped determine which frame would go where, made sure the colors were well distributed throughout the arrangement, and determine the spacing between each row and frame.
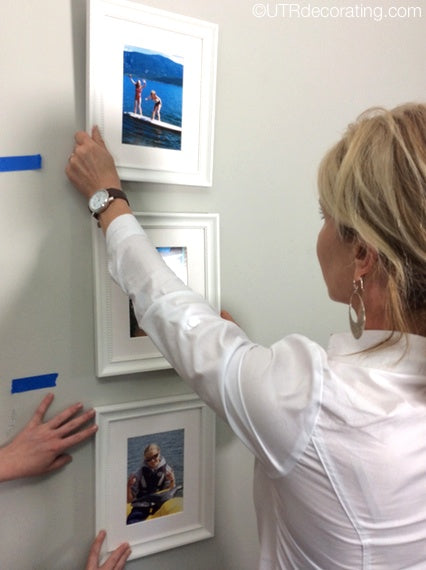
- With an extra pair of hands to help, we held three frames up to decide on the height of the arrangement. Using blue painter’s tape, we marked the height.
- Determine how low the bottom frame should hang and how high the last one should be. Honestly, that’s the best way to do it. It will give you confidence that you’re hanging your frames at the right level before putting any holes in your wall.
How to hang the frames:
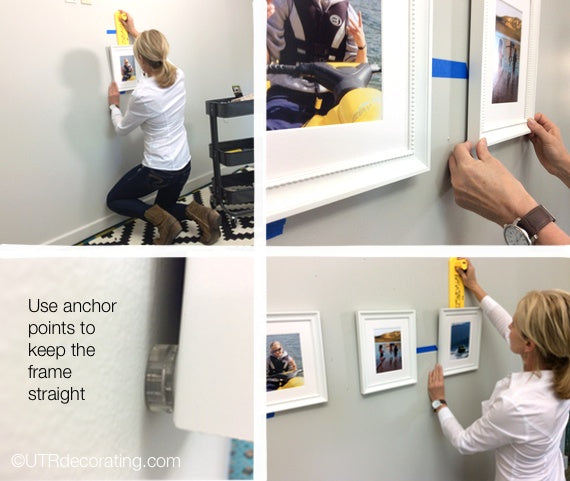
- Using Hang & Level I started by hanging the frame on the left from the bottom row.
- I cut a piece of 5-inch of painter’s tape for the spacing between each frame of that horizontal row.
- I lined up the second frame to the first one, made sure the tops and/or bottoms were lined up and marked the spot with Hang & Level.
- I placed Anchor Points at the bottom corners of each frame. When hanging a grouping each time you hammer nails in it moves the frames, so keep them in place, it will it easier to line up the next frames.
- Repeat the same steps to hang the third frame.
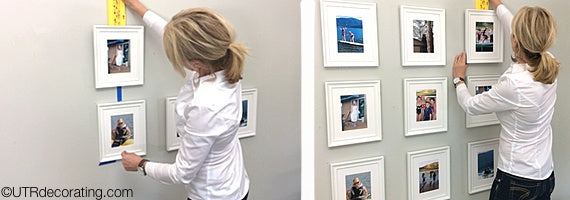
- Once the bottom frames are hung, start hanging the frames from the middle row.
- I hung them in the same order as I did for the bottom row.
- In between horizontal rows I left 3 inches, I used painter’s tape to keep the spacing even.
- Repeat the steps for the top row, including sticking Anchor Points on your frames.
- As you can see, I used a step stool to hang frames from the top row.
- Step back and assess your work.
- If one frame is crooked, fix it right away while you have all the right tools out. If you don’t, it will always bug you. Trust me, I know!
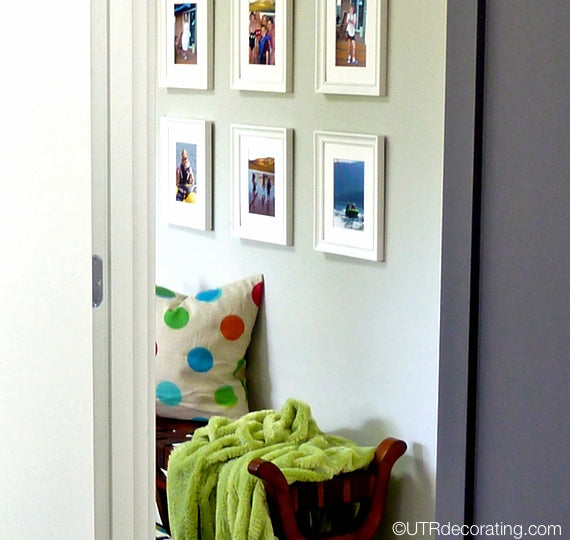
Once done, I thought it would be fun to play up the kids vacation theme by adding a funky polka dot pillow, along with a green throw onto a rustic bench. The added accessories emphasize the colorful pictures and playfulness of the photos.
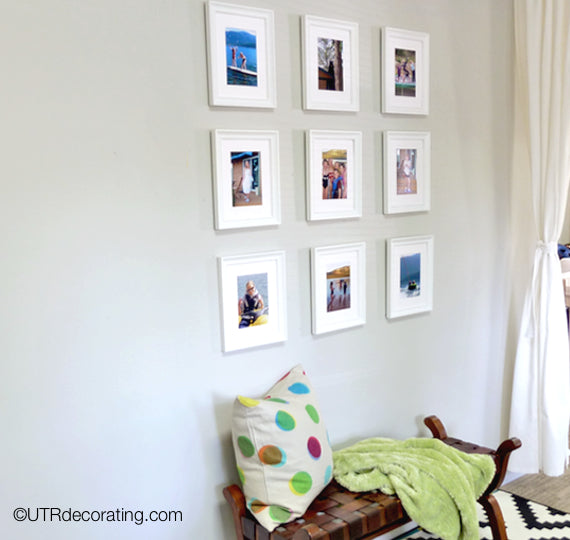
- Nine frames at $7 each, $70
- Nine 5X7 colored print, $1.90 each, approximately $20
- Spray adhesive glue $3
Here’s a simple tip that will save you time and headaches too. When hanging a grouping of identical frames, number the back of the frames.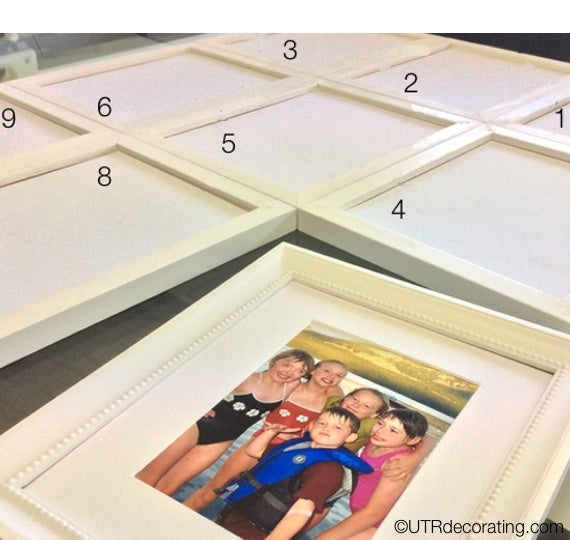
What’s your best tip to create a gallery wall?

Liette Tousignant
Co-Founder of Under The Roof Decorating
SHARE:


